


First Step: Take the Measurements from your client.

How it Works
1. Neck
2. Shoulder
3. Breast
4. Waist
5. Hips
6. Arms
7. Hands
8. Wrist
9. Legs
10. Hips to Feet
2nd Step: Make The Pattern
To make a pattern you need to buy a special white or beige paper, an adequate one to make the design. You need to use:
Dotted Marking Paper 48" and 60" OR Pattern Paper - Kraft brown 48" and 60"
Pink inches ruler, L-square ruler, diagonal ruler, form curve 18". Pattern notcher, industrial pattern scissors, draping tape, needle tracing wheel, comma-shaped ruler, needle pins, pencils, tailor's chalks, measurement tape, regular tape.
+
3rd Step: Cutting The pattern & Fabric
First of all, when you finished with the pattern, you will need to cut all the pattern pieces. Second, you will select the fabric you're going to use to make the design. Then you need to extend and accommodate the fabric so that it does not wrinkle. After that, you need to accommodate the patterns in the correct spot because some of them need to cut two pieces or cut it on fold. Then you need pin the patterns, so they don't move when you are cutting them from the fabric. After you cut all the pieces, you need to put the pieces together with a sewing machine.
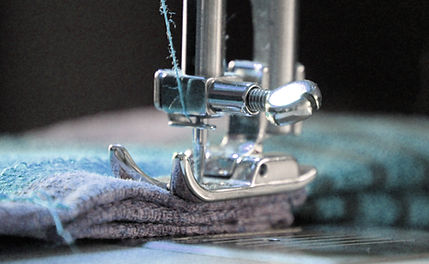
Step 4th: Sewing Machine
To use to sewing machine you need to use needle pins, chalks, thread, plastic thread clippers, measurement tape, industrial sewing machine bobbins, sewing gauge, and scissors,